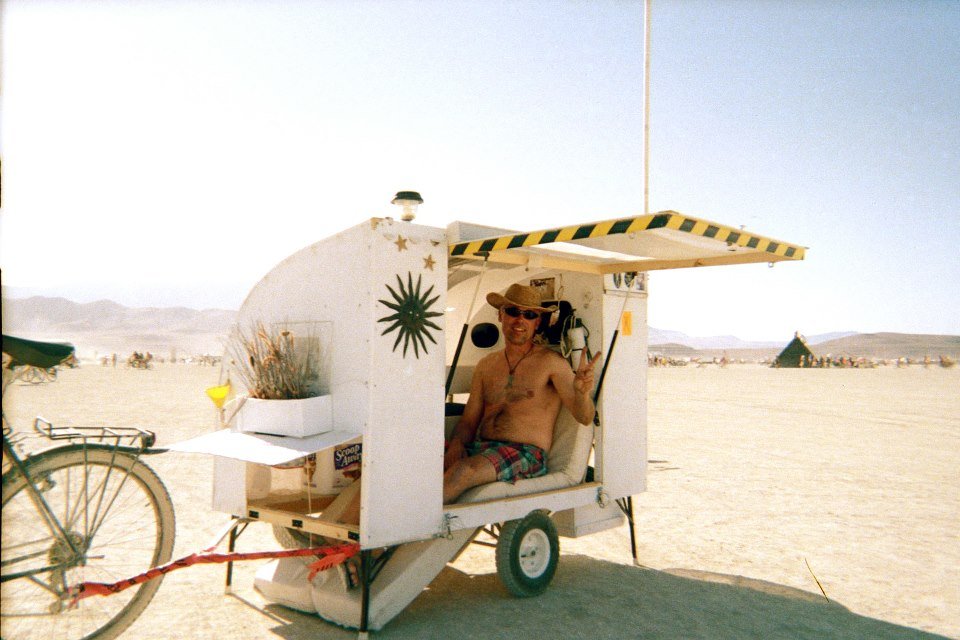
There’s a former Boeing engineer, Paul Elkins, whose bike camper designs inspired me. He started with shelters for the homeless, later creating bug-out shelters brought to Burning Man, using low-cost materials like foam board insulation and corrugated plastic from political signs.
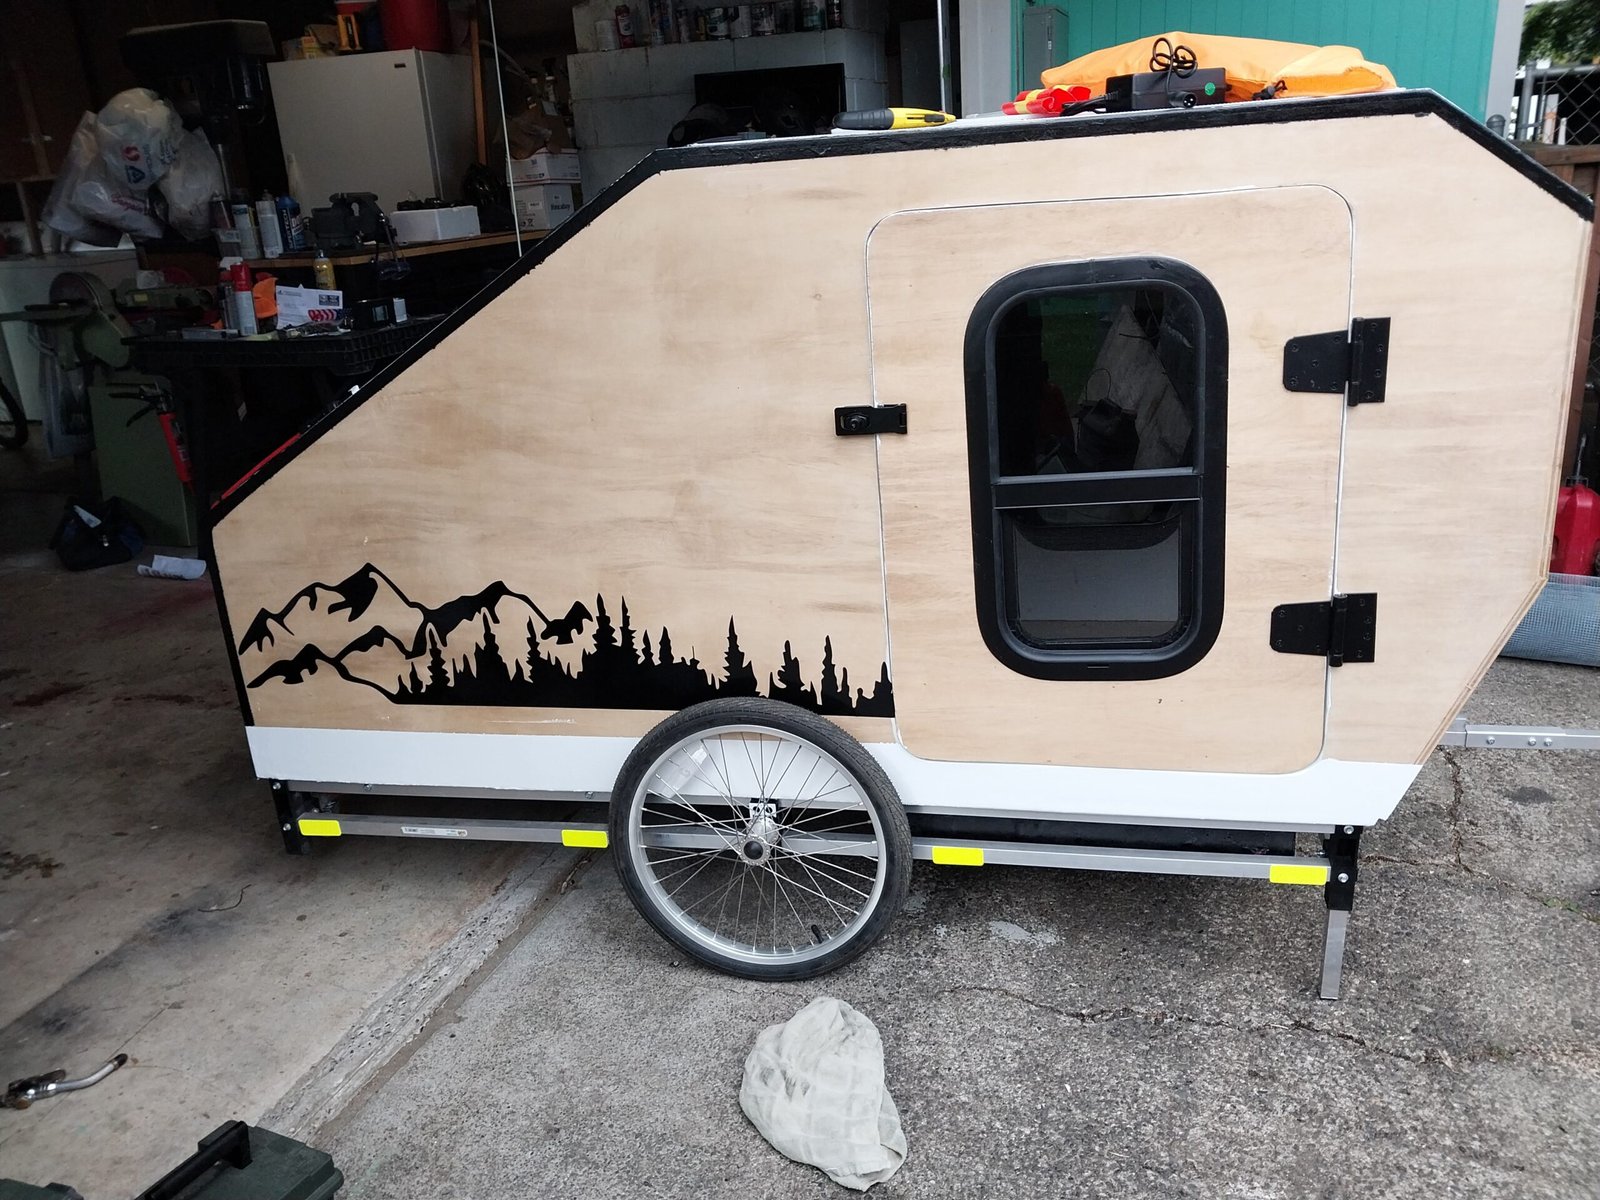
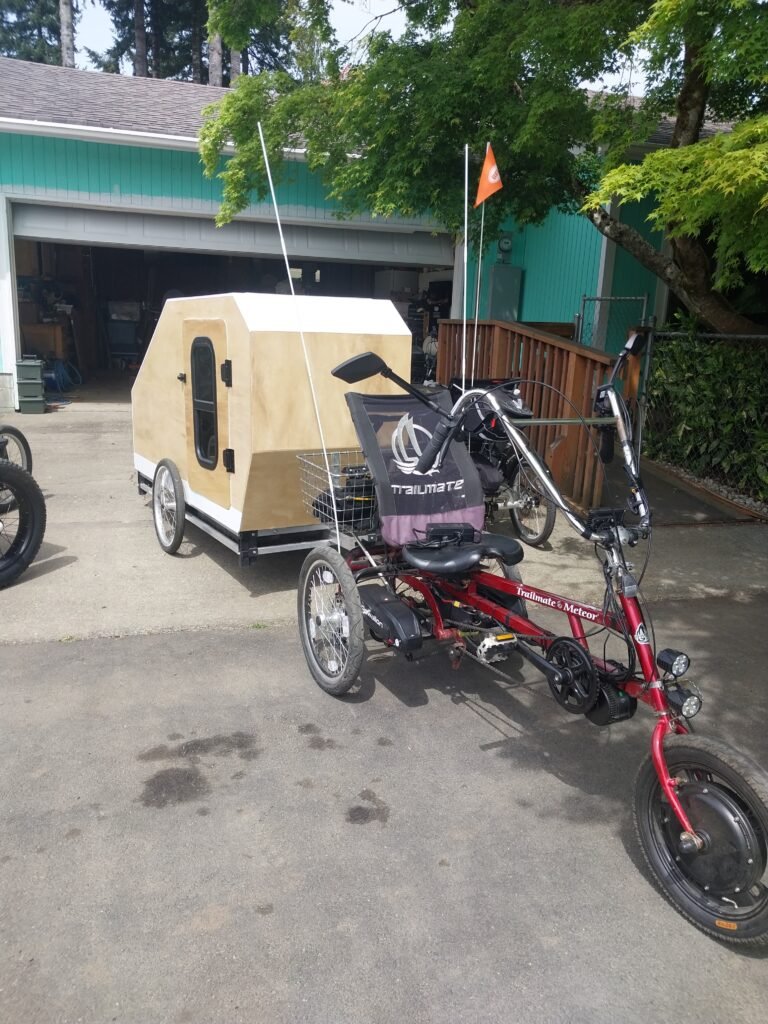
Last winter, I built my own bicycle camper. I used rigid foam panels for insulation and finished the exterior with fiberglass and epoxy—keeping things lightweight, weatherproof, and ready for adventure. My design is practical and comfortable for all seasons, making life on the road easy and enjoyable.

Building My Bicycle Camper: Rigid Foam Insulation & Fiberglass Shell
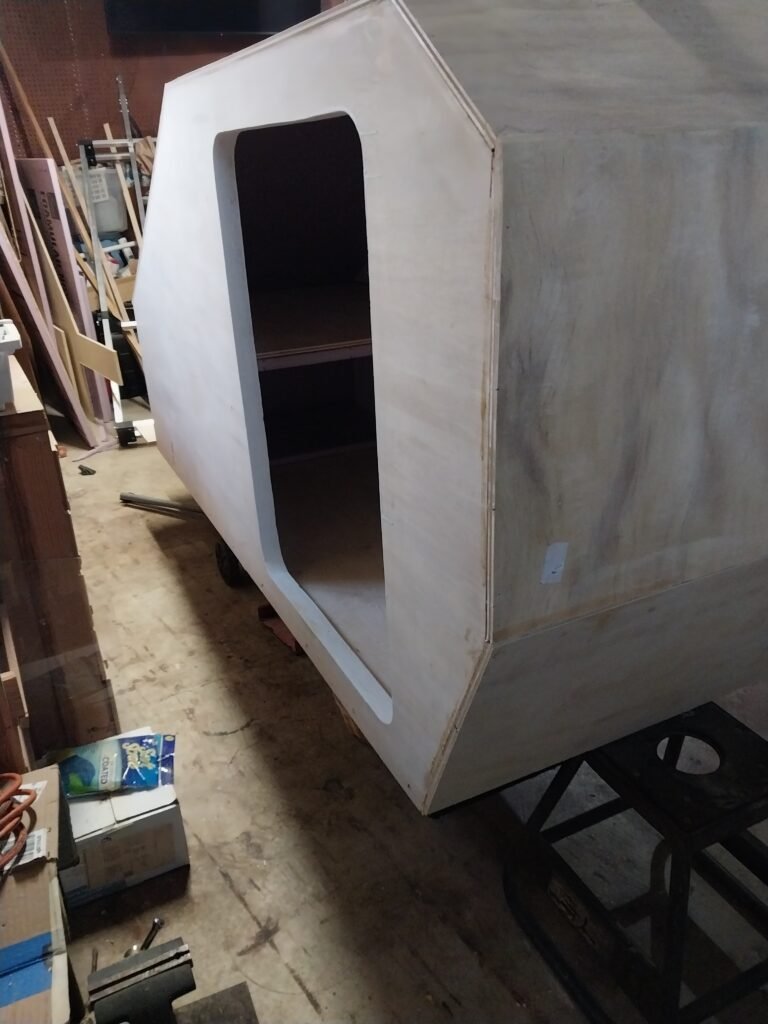
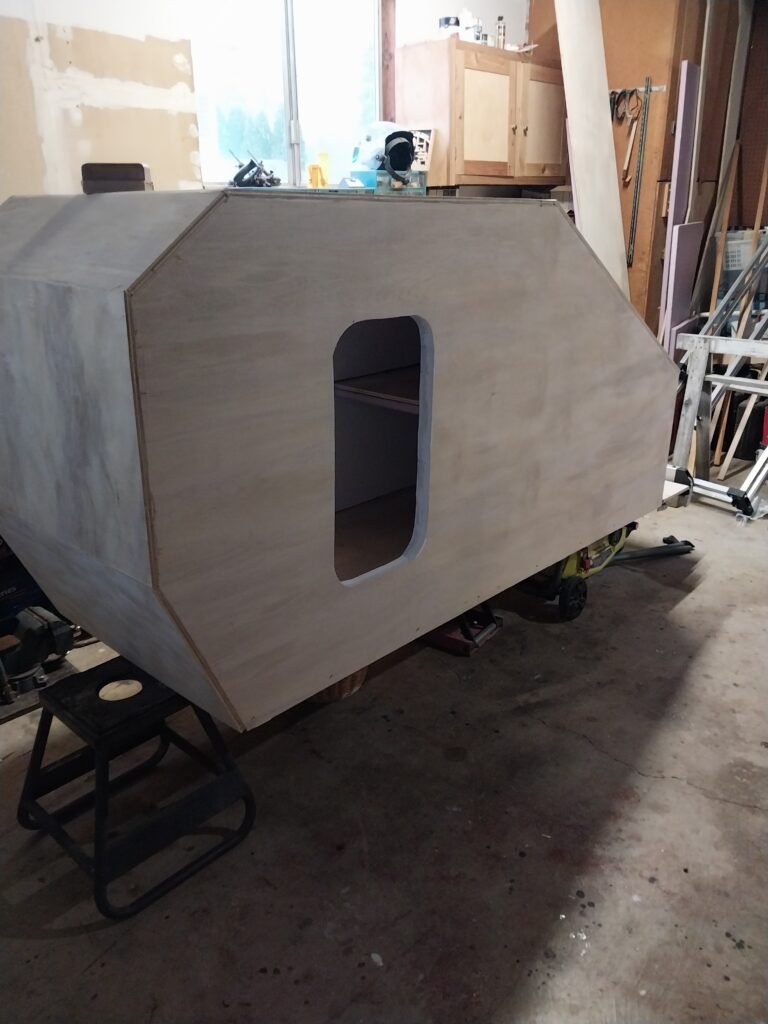
Last winter, I took on a new DIY challenge: building a compact, weatherproof bicycle camper. This project was inspired by the need for practical shelter on the go—something lightweight, warm, and durable enough for year-round outdoor adventures.
Insulation Matters: Rigid Foam for All-Season Comfort
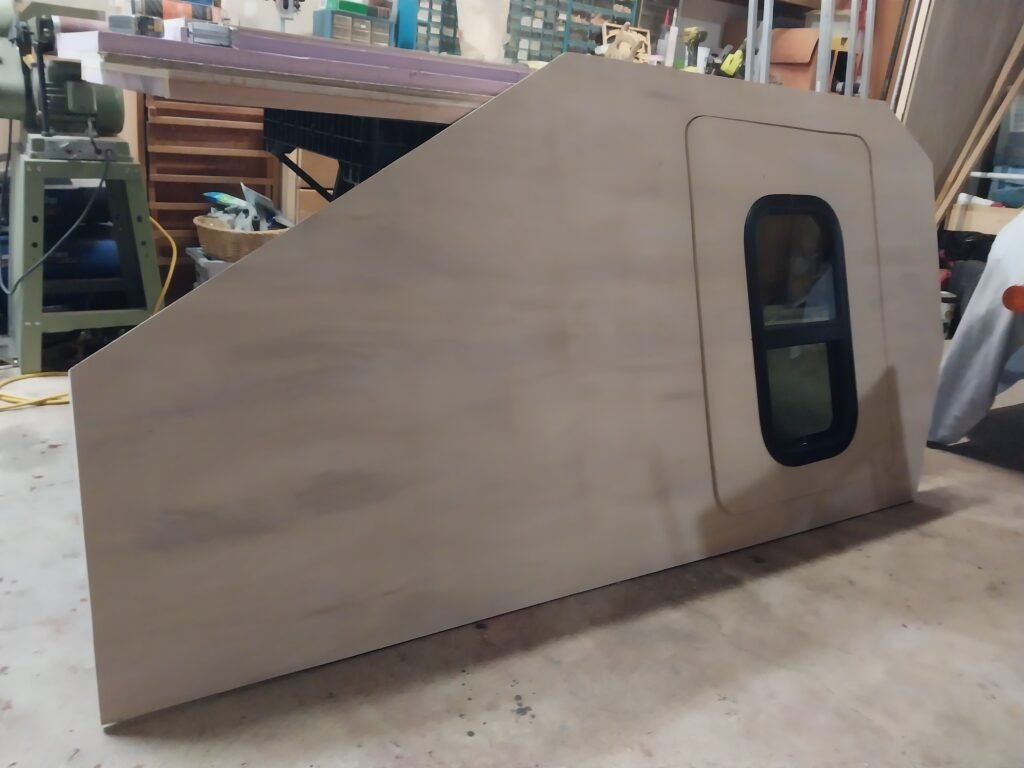
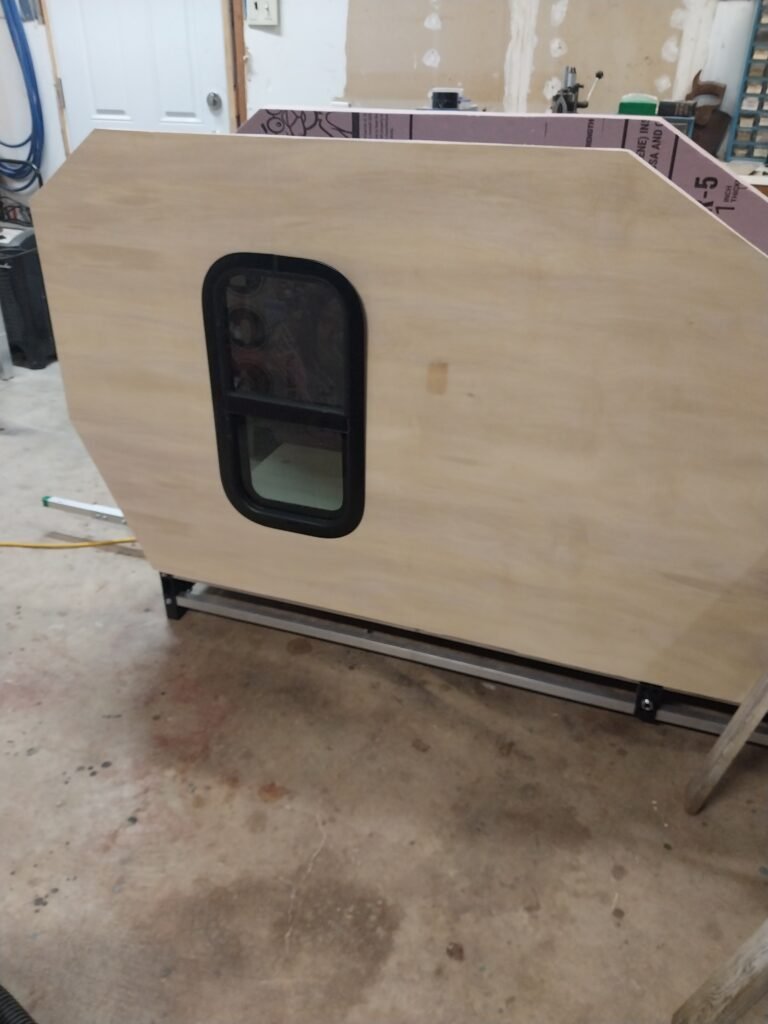
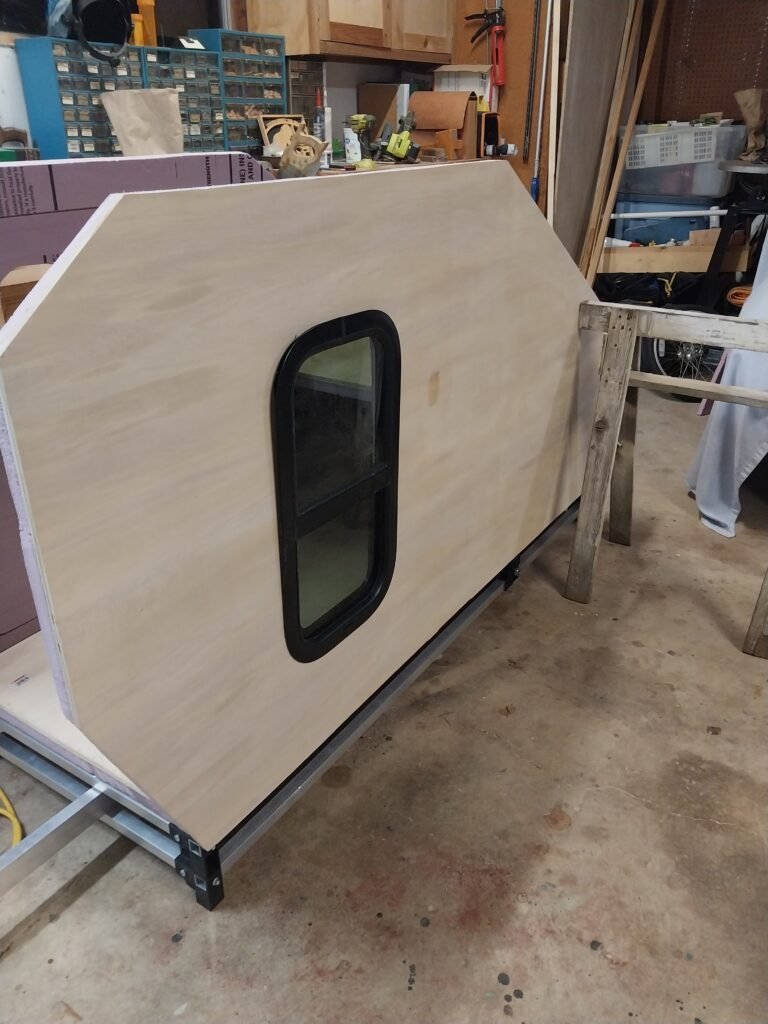
The heart of my camper’s thermal performance is lightweight rigid foam insulation glued to 12mm birch plywood. I chose expanded polystyrene (EPS) panels, similar to Cellofoam Poly Panel, because they’re easy to cut, lightweight, and offer high R-values for heat retention. EPS insulation excels in small mobile spaces, keeping me warm even during chilly nights. Sealing the seams with tape and foam ensures no drafts sneak through, maximizing comfort inside my tiny home on wheels.
Exterior Protection: Fiberglass and Epoxy Resin
To make the camper robust and weatherproof, I finished the exterior with fiberglass cloth and epoxy resin. This combination forms a tough shell that protects the insulation and underlying wood from rain, snow, and bumps during transit. The result is a smooth, attractive surface that isn’t just functional—it’s also easy to maintain and looks great displayed on my blog.
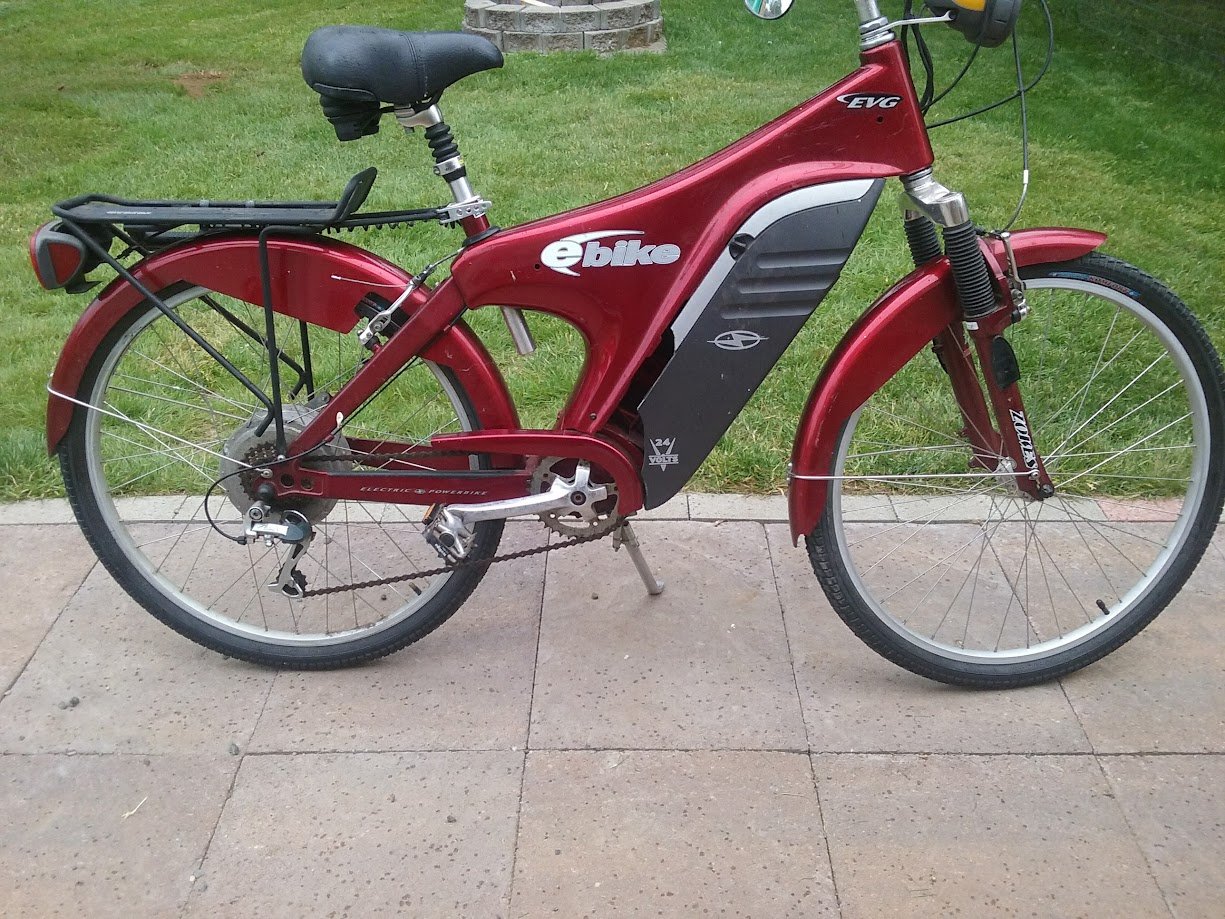
The camper itself rests on a sturdy trailer made by Wike Inc., a Canadian company known for quality bike cargo trailers. The Wike trailer features 20-inch wheels, providing a smooth, stable ride across all kinds of terrain. You can find more about their trailers at wike.com—they’re built to handle real adventure.
DIY Tips for Future Builders
If you’re planning to build your own bicycle camper, consider these tips:
- Select rigid foam panels that balance thermal efficiency and light weight.
- Use adhesive spray or construction glue to secure insulation boards to the interior frame.
- Seal all joints and seams thoroughly to lock in heat.
- Finish the exterior with fiberglass and epoxy for lasting durability and a professional finish.
- Don’t forget ventilation—installing a small window or vent keeps air fresh inside.
I’ve documented my build process and included photos to help fellow DIYers. If you have any questions about products like insulation panels used in my project, let me know in the comments or check out the blog for more resources.
Here is a list of the main products and materials I used to build my custom bicycle camper trailer. These selections enhanced insulation, waterproofing, structure, and utility, with sources provided for easy reference.
Key Materials Used
- Camper Base:
Wike Bicycle Trailer (20″ wheels, solid aluminum frame, made in Canada — wike.com) - Insulation:
Rigid EPS foam panels (Cellofoam Poly Panel, lightweight, easy to cut, excellent for warmth; available at Home Depot) - Frame & Interior:
Birch plywood (Home Depot; PureBond variety recommended — formaldehyde-free, smooth, sturdy) - Exterior Shell:
Fiberglass cloth (Amazon)
Epoxy resin (Ace Hardware) - Finishing Touches:
- Door hinges (Amazon, Home Depot)
- UV-resistant paint (Ace Hardware)
- Sealants (Ace Hardware, Home Depot)
- Reflective decals/stickers (Amazon)
- Scenic decal for exterior (Amazon)
That’s the story on my bike camper. It’s been a fun project, and rolling it around has been a good adventure. If you’ve got questions about the build, or want to swap stories about bike camping, just let me know in the comments. See you out there.
 By
By